
This article explains how employees can edit their timecards via the Timerack mobile app.
Scan to download the app!
Navigating Mobile Timecard Edit
| 1) Log into your Timerack mobile app. 2) From the Home screen, you will see Timecards on the bottom menu bar. 3) Select Timecards. 4) If Mobile Timecard Editing has been enabled for you, you will be able to see a sparkle icon in the bottom right of your screen. |  |
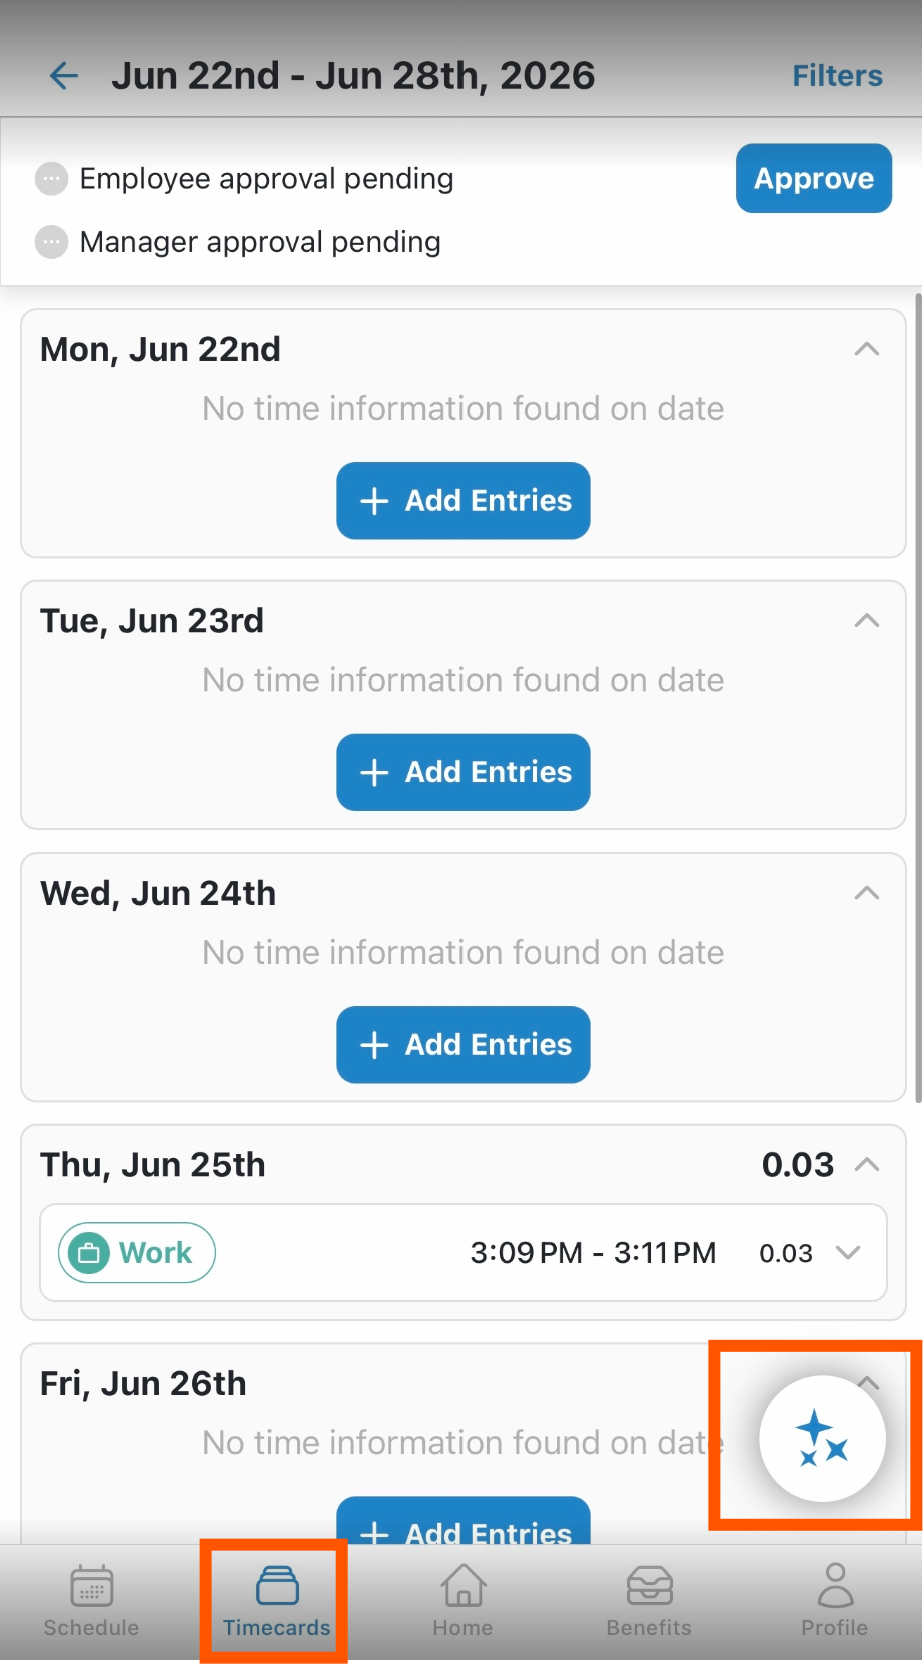 | 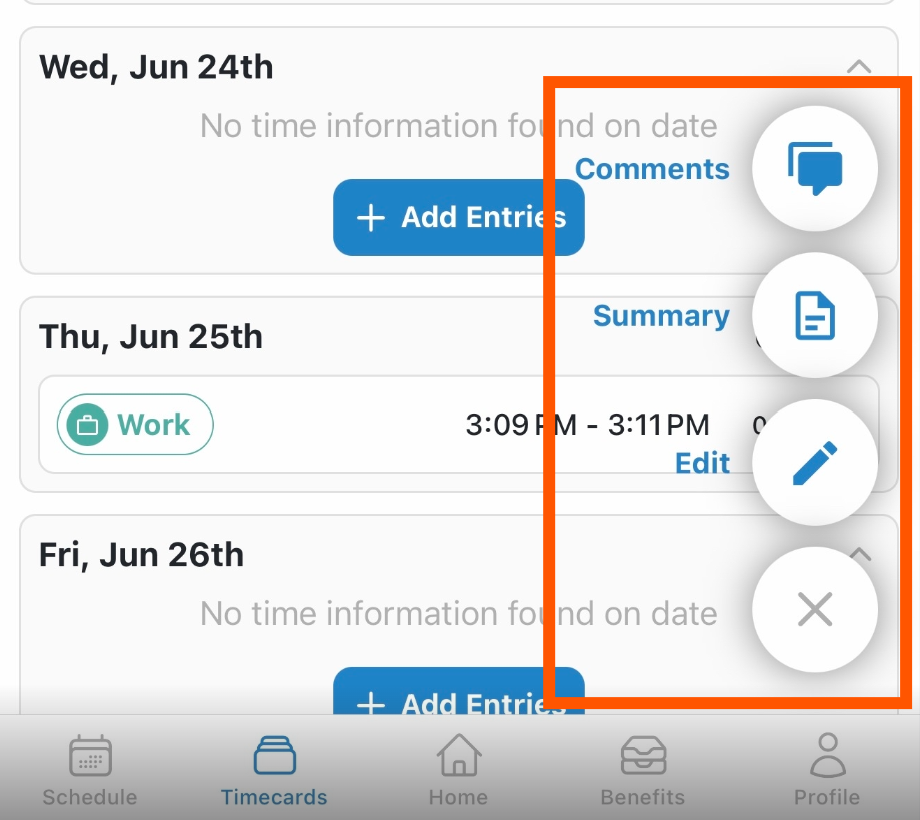 |
| 5) Tap the sparkle icon for a list of available actions (this list is dependent on your employee permissions set by your manager). **When you choose the Comments action, you will see an area to type and add a comment, and you will also be able to see any comments entered by your manager on the timecard you selected. 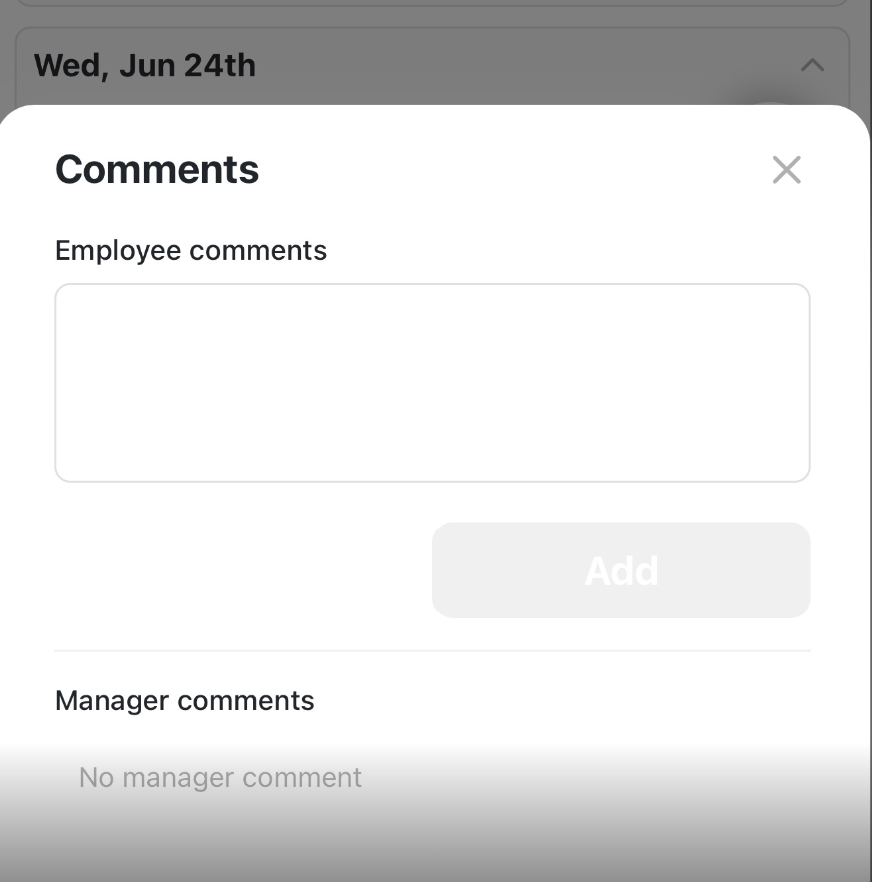 | 6) You can add and view comments, view a summary of your hours, or choose to edit your timecard. Note: You will not be able to edit your timecard once a manager has approved the timecard. **When you choose the Summary action, you will see a pay period summary of your hours for pay period you selected. 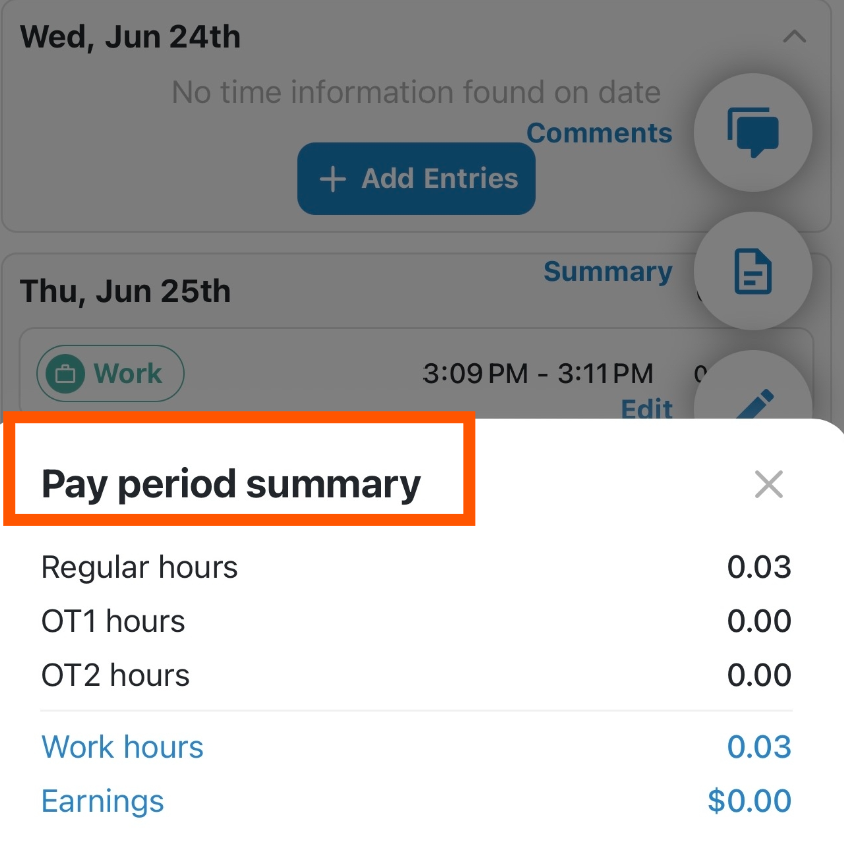 |
Editing your Timecard on the Mobile App
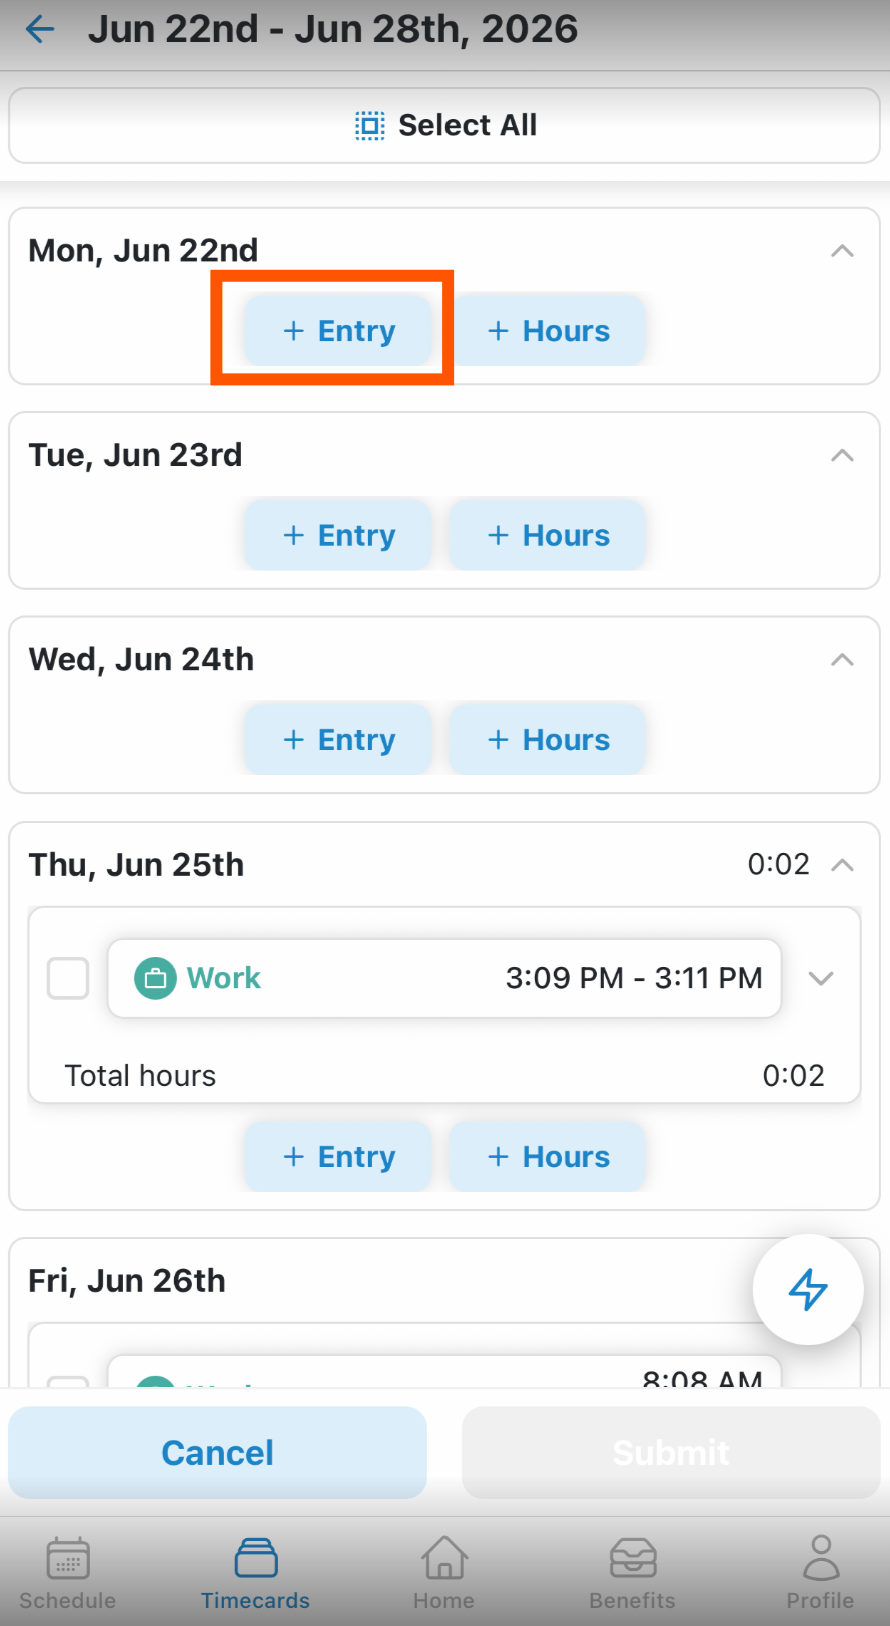
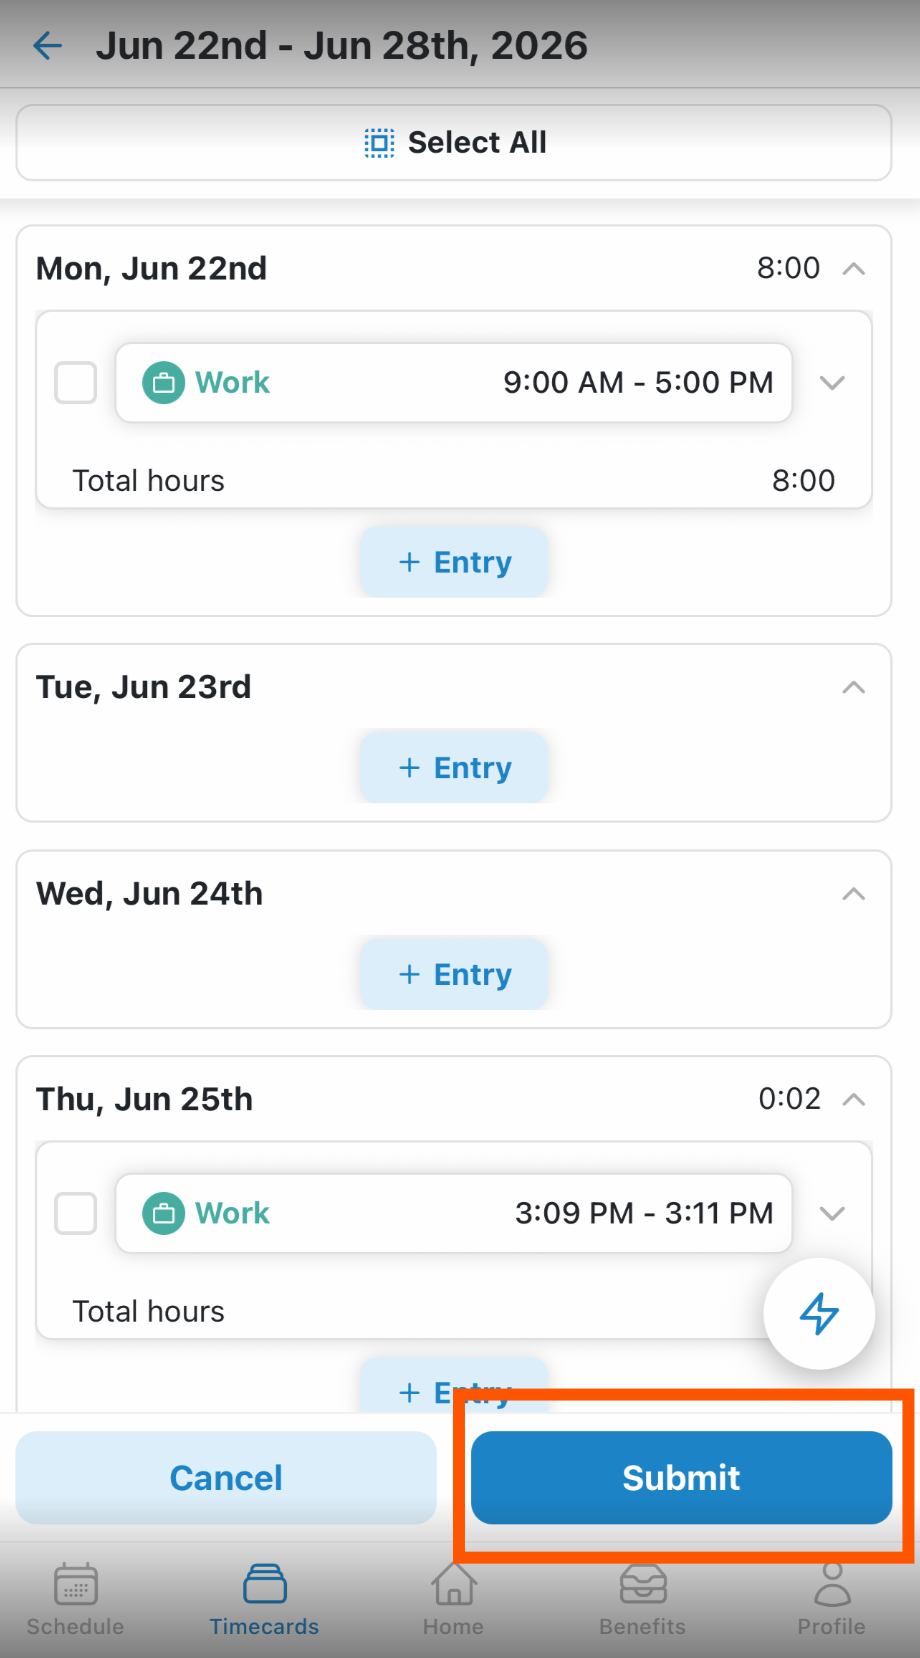
1) When you select the Edit action from the sparkle icon, you will be brought to the editing screen. 2) Tap "+Entry" to enter your start and end times. You can add multiple entries for one day; i.e., lunches, breaks, split shifts, etc. 3) Depending on permissions set by your manager, you may also be able to select the pay type, shift, assignment, or specific level for your hours entered. 4) Once you have finished editing your timecard, tap Submit to send your hours to your Timerack timecard.
| |
 | |
| **If enabled you may also have the ability to add Total Hours for each day rather than individual time pairs. | 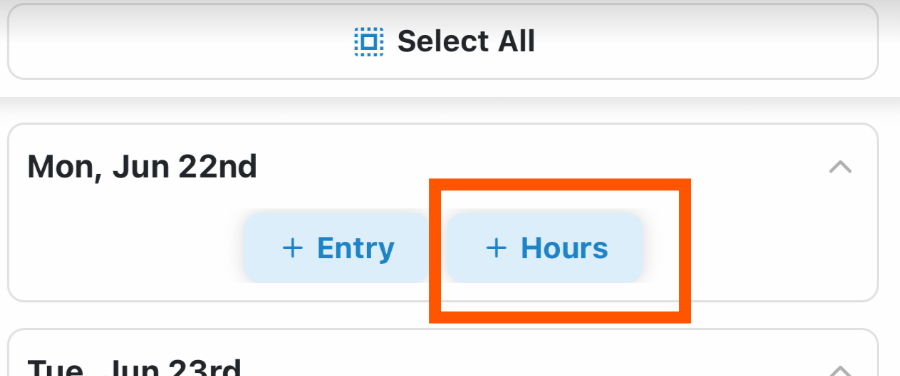 |
Quick AddThere is also a Quick Add feature within Mobile Timecard Editing to allow you to enter times/hours for multiple days in a specific pay period all at one time. 1) When in Edit mode for your timecard on the Mobile App, tap the lightning bolt icon- this is our Quick Add icon. | 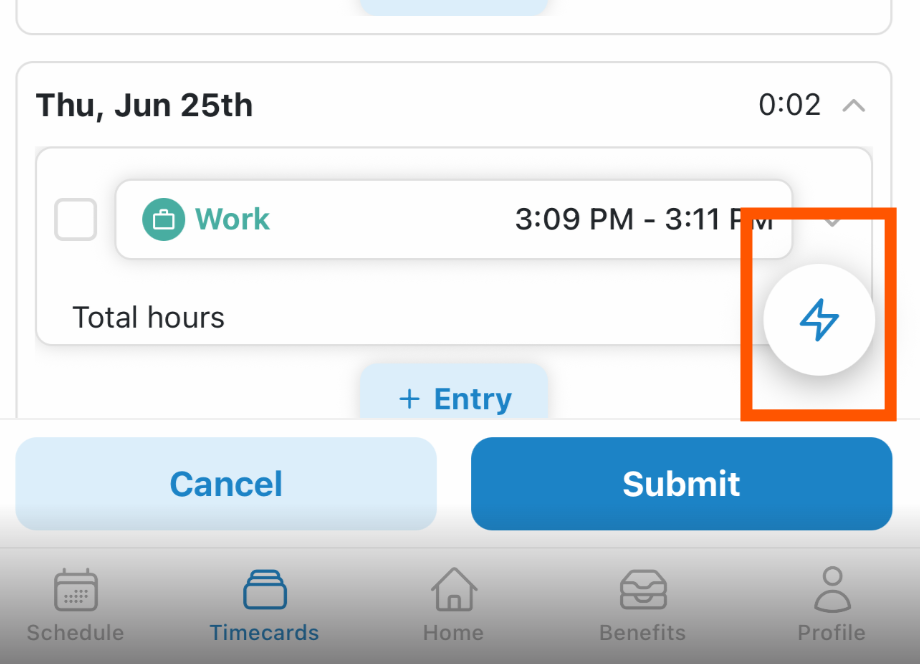 |
| 2) You will be brought to the Quick Add screen where you will add a time entry for a specific range of days that you can select via the date selection buttons "From" and "To." 3) Tap Done when you are finished adding time. | 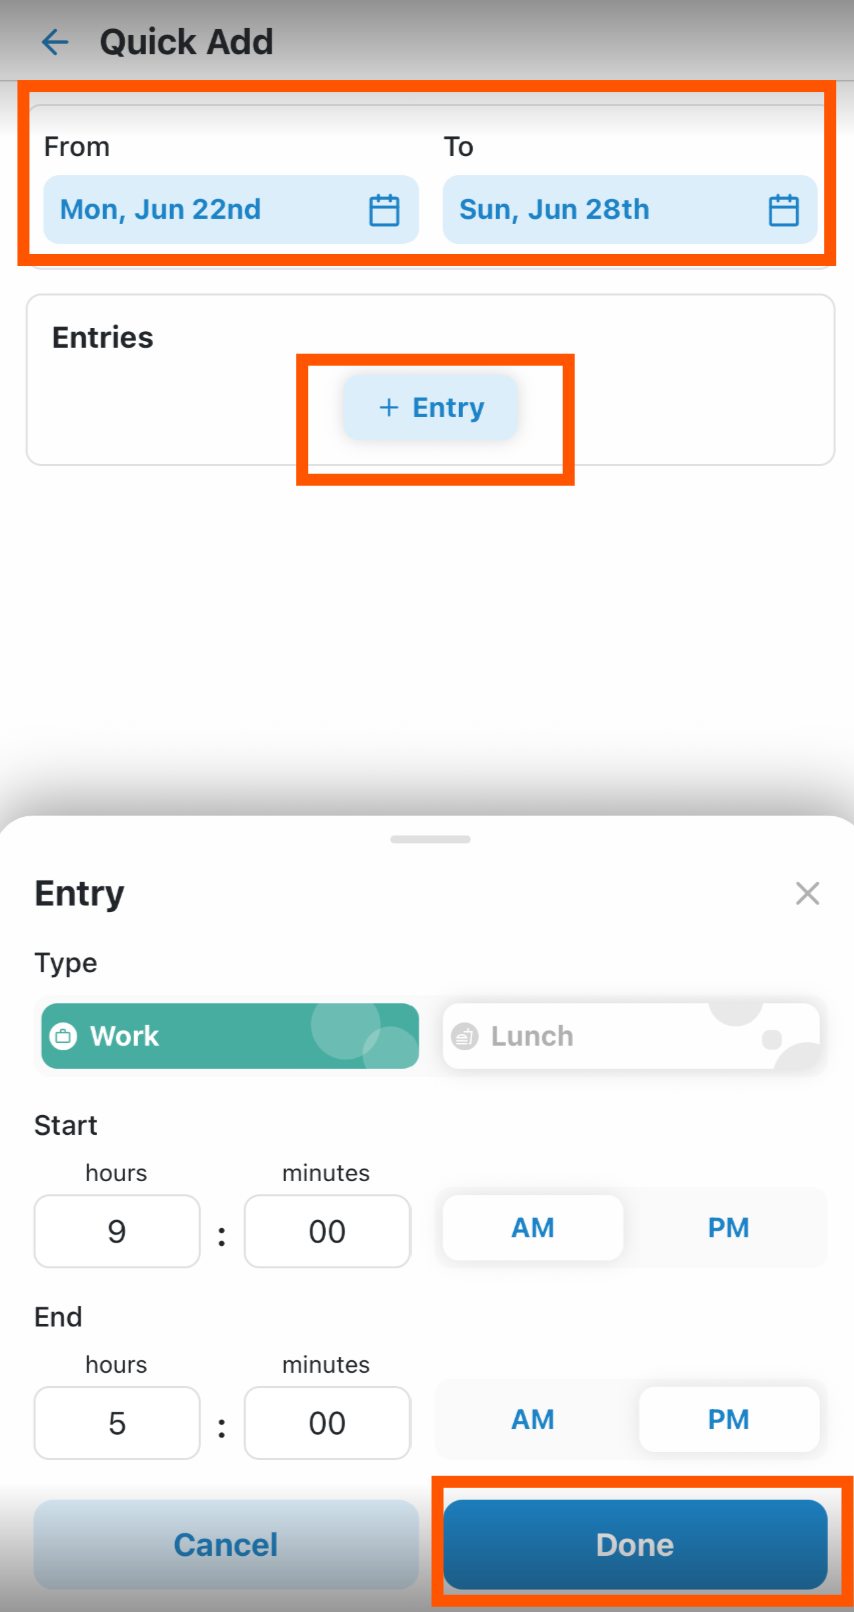 |
Adding Earnings & Deductions1) If you are setup with these permissions, you will have the ability to add earnings and deductions to your timecard via the Mobile App. 2) You add these the same way you would add time; select the sparkle icon, tap Edit, and choose "+Amount." 4) Remember to then tap Submit at the bottom of the screen to send the earnings and deductions that you added to your Timerack timecard. | 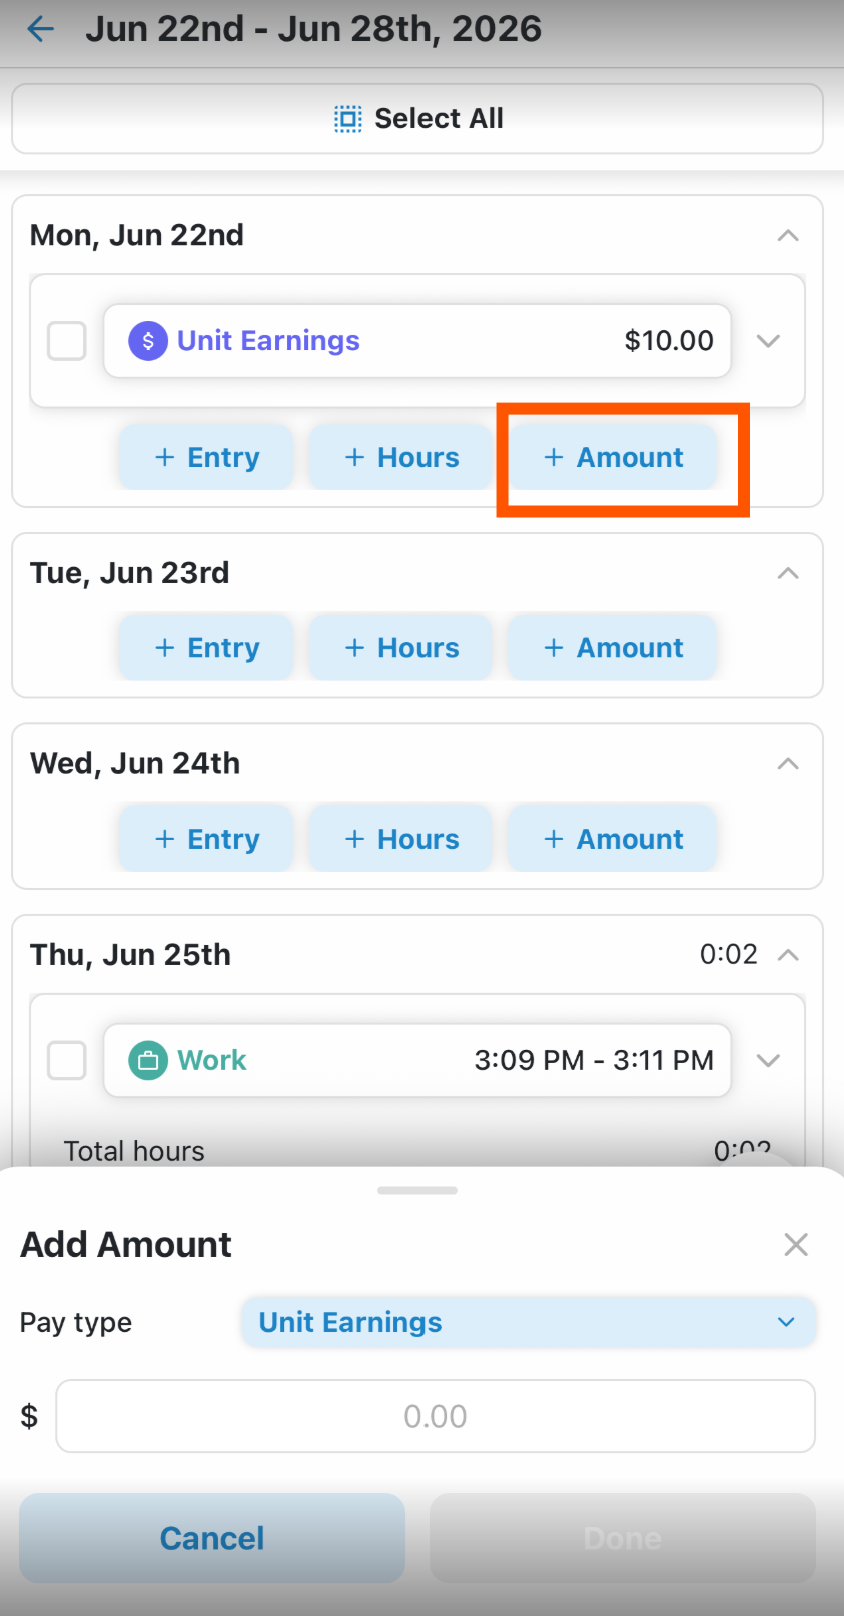 |